The Best Way to Whiten Teeth in Photoshop or Photoshop Elements
Martin Wilson
Jun 28, 2022
You won't risk damaging the integrity of your original photo, and you won't have to make a single selection if you follow the steps outlined in this section to whiten your teeth. In addition, this method is compatible with almost all editions of Adobe Photoshop and Photoshop Elements.

The Power of Adjustment Layers
Adjusting a picture's color and lighting requires adjustment layers, which are included in Photoshop and Elements. These layers allow you to make adjustments to the way an image appears. When you use an adjustment layer, the adjustment process occurs on a separate layer, protecting your primary picture from being altered in any way. Because the adjustment is contained in its distinct layer, you can adjust the opacity of that layer to modify the degree to which the change you made is reflected in the image. Additionally, you have the flexibility to remove the layer entirely if the results aren't to your satisfaction.
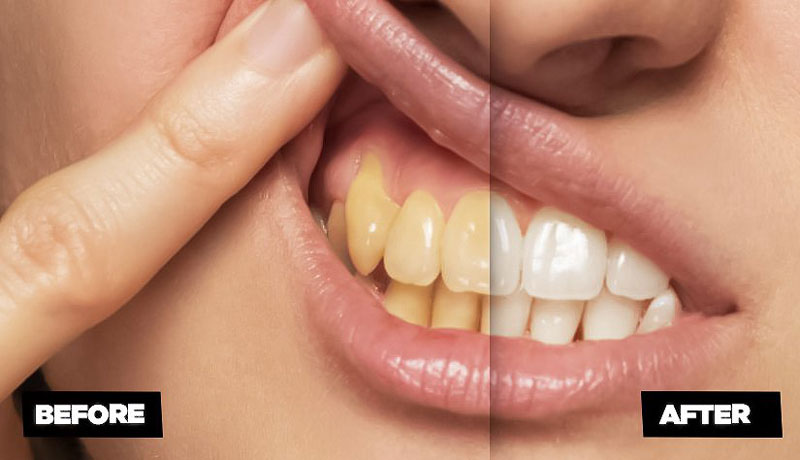
Brightening One's Teeth
In the new dialogue box shown, give the layer the name whiten teeth, and then click the OK button. You will see that a new adjustment layer has been added to the Layers panel of your document. Depending on the version of Photoshop you are using, either a panel or a dialogue box will come up and include the sliders shown in this article. When you move the Lighten slider to the right to around +50, the brightness of the whole picture increases. (Don't freak out—we'll have it all out in just a second.)
The First Layer
On the left, you can see the Hue/Saturation options in Photoshop, and on the right, you can see the same parameters in Elements (right). Let's now conceal the lighting we just applied by using the mask with the adjustment layer. Check out the Layers panel on your computer and ensure the mask is turned on (it should look like the image below).
Consider a layer mask the digital equivalent of masking tape; however, whereas traditional masking tape is often beige or blue, digital masking tape is always black. If you add some black to the layer mask, the layer's contents will not be seen in the area of the picture that corresponds to it. While the mask is still active, pressing Command and the letter, I will invert it so that the white areas become black.
The Second Layer
When the mask is active, a border will emerge around its edge. Photoshop (on the left) appears as light grey, whereas in Elements, it appears as light blue (right). It is important to remember that black hides and white discloses while dealing with masks. This will allow you to see the teeth more clearly. White paint must be applied to the region of the mask in question so that the highlight on the upper teeth may be seen.
The Third Layer
The Tools panel in Photoshop (on the left) and Elements may be seen here (right). Each panel has a circle drawn around the Brush tool and the color chips. Move your mouse pointer over the picture, and then using the brush tool, paint over the teeth to expose the highlights in that region. If you make a mistake, you may use the X button to switch the order of your color chips so that black is on top. After that, paint the area again to cover up the lighting.
Layer Four
Using a white brush to paint within the mask, you may expose the highlights on top of the teeth. Nifty, eh? If the teeth seem to be somewhat yellow, bring your focus back to the Hue/Saturation settings (you may reopen the panel for the Hue/Saturation layer by double-clicking its thumbnail if you need to) and choose Yellow from the Channel menu that is located directly above the Hue slider. Move the Saturation slider to the left gradually until the yellow color cast is no longer visible.
The Fifth Layer
Eliminating a color cast is as simple as lowering the color channel's saturation level causing the issue. This technique may also be used to remove red from skin tones; to do so, switch from the yellow channel to the red channel in your editing software.
Sixth Layer
The completed Layers panel in Photoshop (on the left) and Elements may be seen here (right). As you can see, having this tooth-lightening technique on your sleeve is beneficial when you use Photoshop or Elements. I hope to see you all again soon, and may the creative power always be with you!